
How to Fix a Torn Squishy Toy?
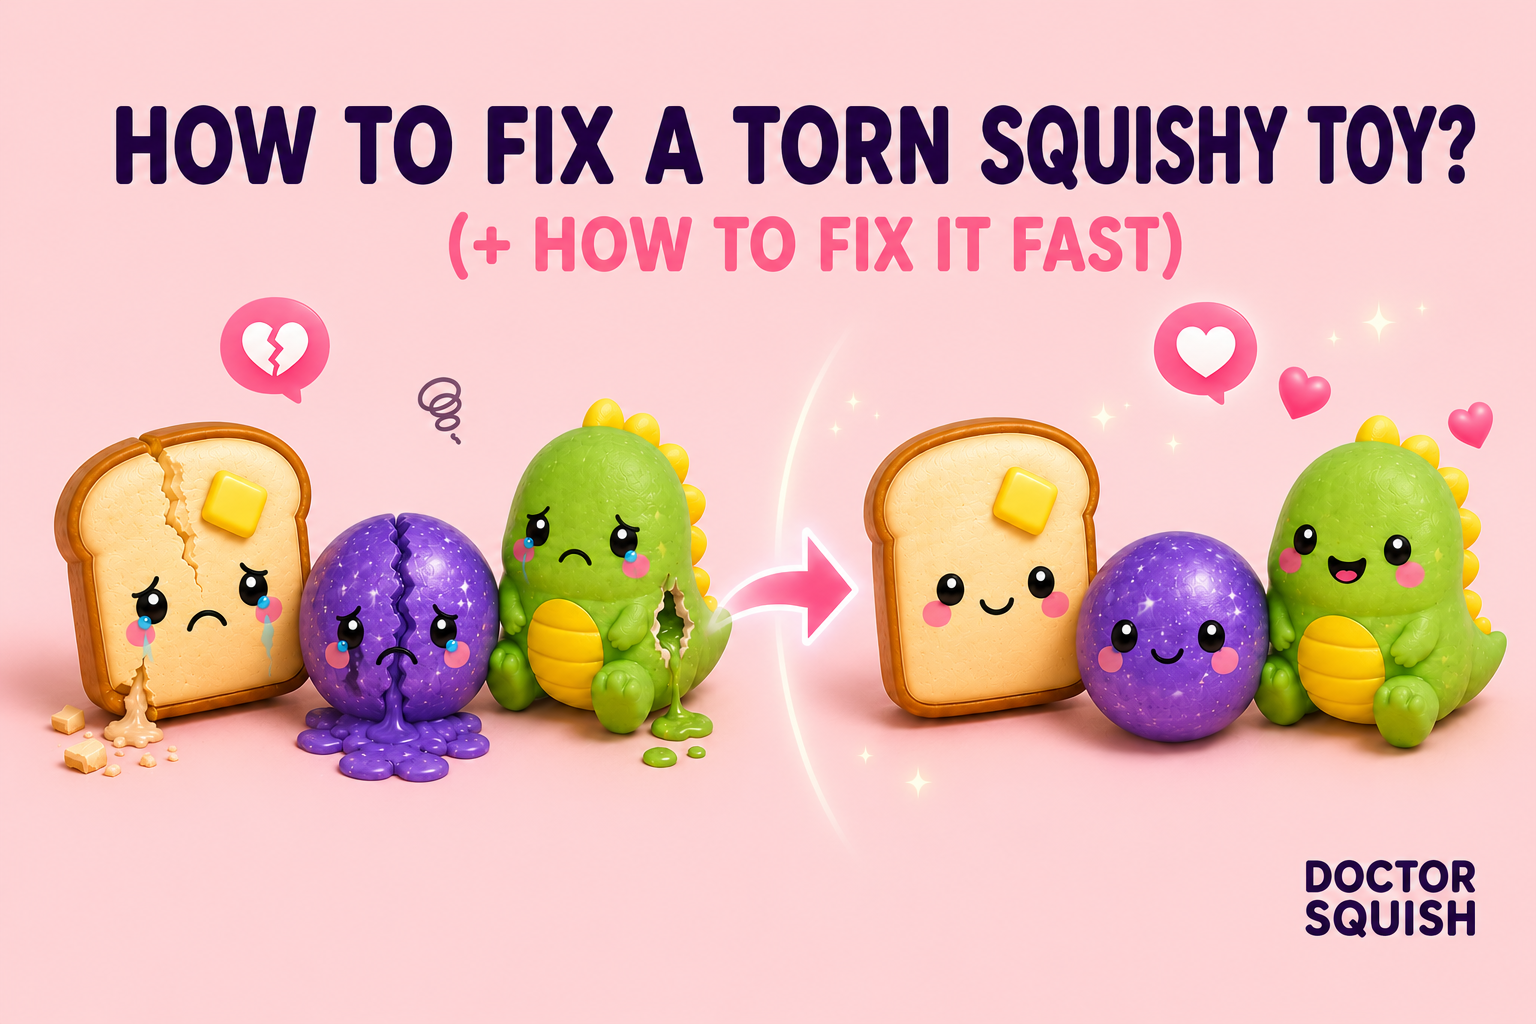

🧸 How to Fix a Torn Squishy (Foam & Gel Squishies Guide)
Meta Title:
How to Fix a Torn Squishy Toy | Easy Repair Guide
Meta Description:
Learn how to fix both foam and gel squishy toys. Easy step-by-step methods to repair your squishy safely and make it last longer.
Target Keywords:
how to fix a torn squishy, gel squishy repair, foam squishy fix, squishy care tips, squishy leaking fix
❓ Why Do Squishies Tear or Break?
Squishies come in different materials — most commonly:
- Foam squishies (soft, slow-rising) 🧸
- Gel or liquid-filled squishies (stretchy, glossy, sometimes filled) 💧
Because of their soft structure, both types can get damaged over time.
Common causes include:
- Frequent squeezing 🤏
- Pressure or sharp nails 💅
- Aging materials
- Small cracks turning into tears
👉 The key difference:
- Foam squishies tear
- Gel squishies can leak or split
🧰 What You’ll Need
Depending on the type of squishy:
For foam squishies:
- Fabric glue or clear craft glue 🧴
- Toothpick or cotton swab 🪥
For gel squishies:
- Flexible adhesive (like silicone glue)
- Paper towel 🧻
- Optional: clear tape (temporary fix)
🛠️ How to Fix a Foam Squishy

🧼 Step 1: Clean the area
Make sure the squishy is clean and dry.
✨ Step 2: Apply a small amount of glue
Use a toothpick to apply glue inside the tear.
🤲 Step 3: Press together
Hold for 30–60 seconds.
⏳ Step 4: Let it dry
Leave it untouched for 6–12 hours.
🧸 Step 5: Test gently
It should feel soft again and hold its shape.
💧 How to Fix a Gel or Liquid Squishy

⚠️ These require more care.
🧻 Step 1: Clean and dry
Wipe any leaking liquid and dry the surface.
✨ Step 2: Seal the hole
Apply a small amount of flexible adhesive over the leak.
👉 You can also use clear tape as a quick temporary fix.
⏳ Step 3: Let it fully cure
Let it dry for at least 12–24 hours.
⚠️ Important
If the squishy is heavily leaking, it may not be fully repairable.
🚫 What You Should NEVER Do
- ❌ Use super glue (too rigid)
- ❌ Apply too much glue
- ❌ Repair when wet or dirty
- ❌ Squeeze during drying
For gel squishies:
- ❌ Do not cut them open
- ❌ Do not try to refill them
🌸 How to Prevent Damage
- ✔ Handle gently
- ✔ Keep nails short
- ✔ Avoid heat and sunlight ☀️
- ✔ Store in a clean, dry place
- ✔ Clean regularly
🧡 When to Replace Your Squishy
Sometimes, repair isn’t enough:
- Large tear or split 😕
- Continuous leaking
- Texture feels damaged
👉 In that case, replacing it is the best option.
🛍️ Final Thoughts
Whether your squishy is foam or gel, a small tear doesn’t mean it’s the end 🙌
With the right method, you can extend its life and keep enjoying that satisfying feel 😍
At Doctor Squish, we offer high-quality squishies designed to stay soft, durable, and fun 💖
✨ Discover your next favorite squishy at DoctorSquish.com